September 22, 2015

UNI-T UT61E modification

To create my foogadgets I need tools. Some tools can be upgraded and improved.
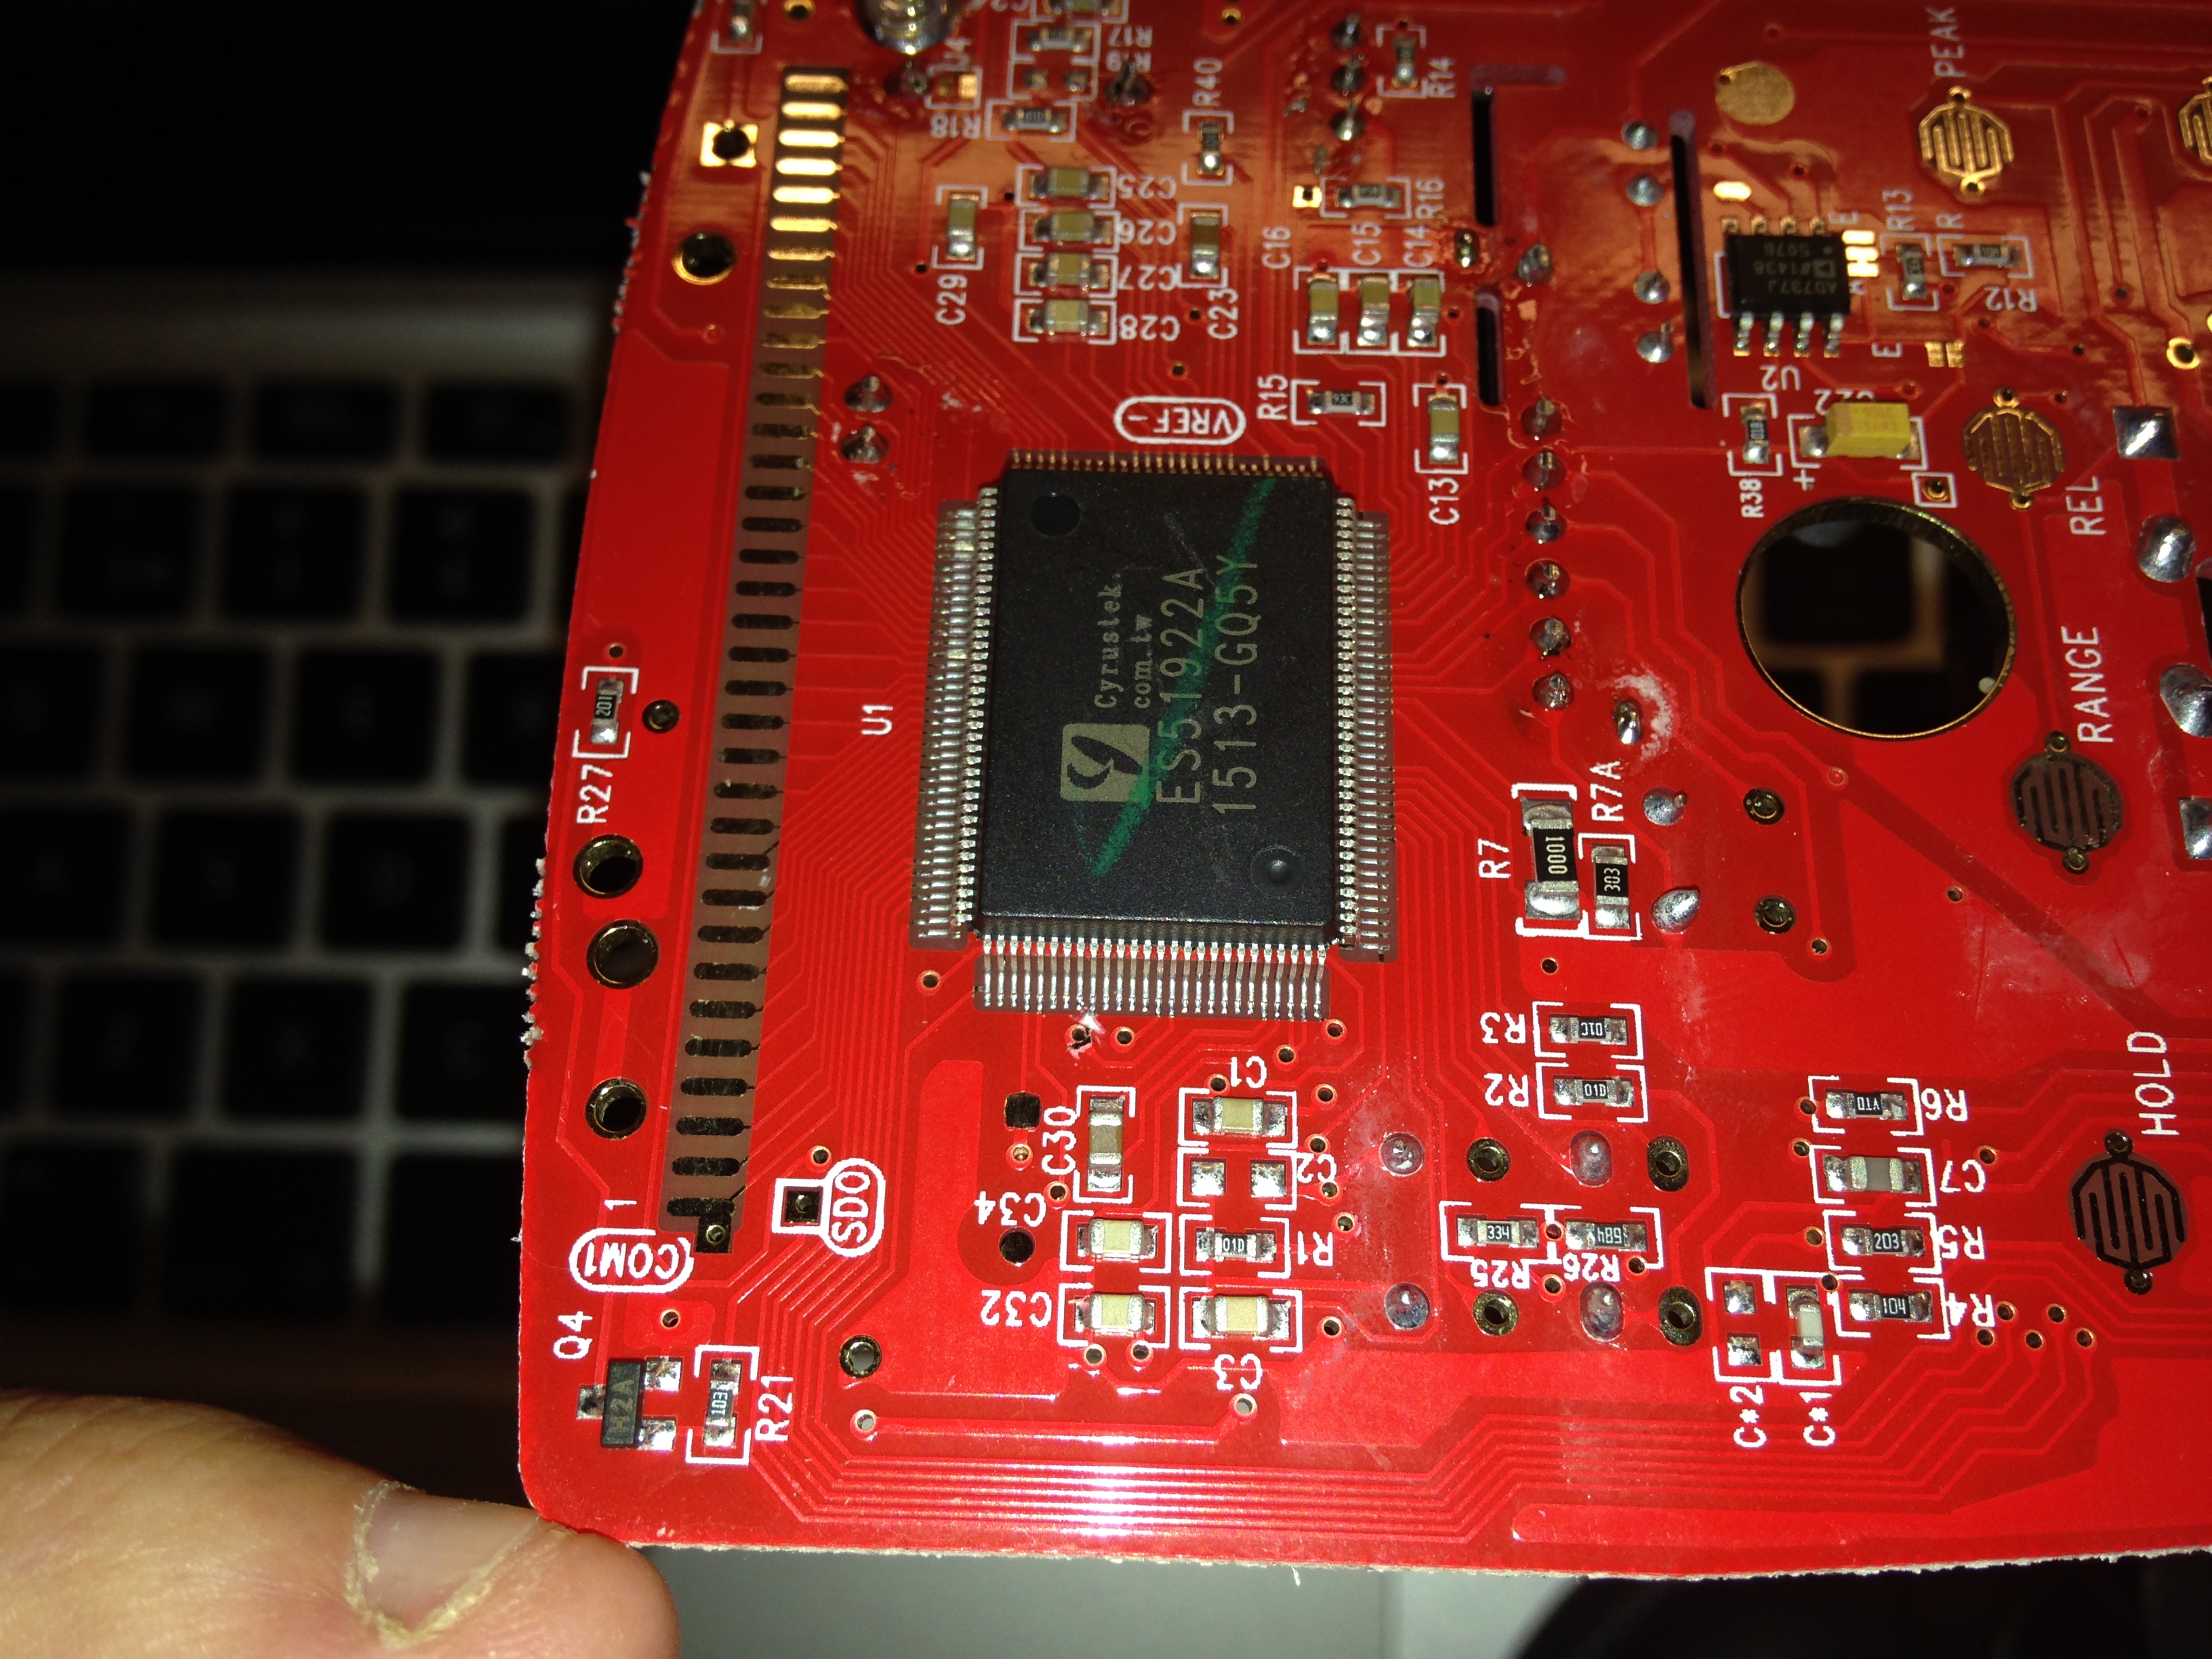
One of them is my multimeter UT61E from UNI-T that is a pretty good multimeter for the hobbyist.

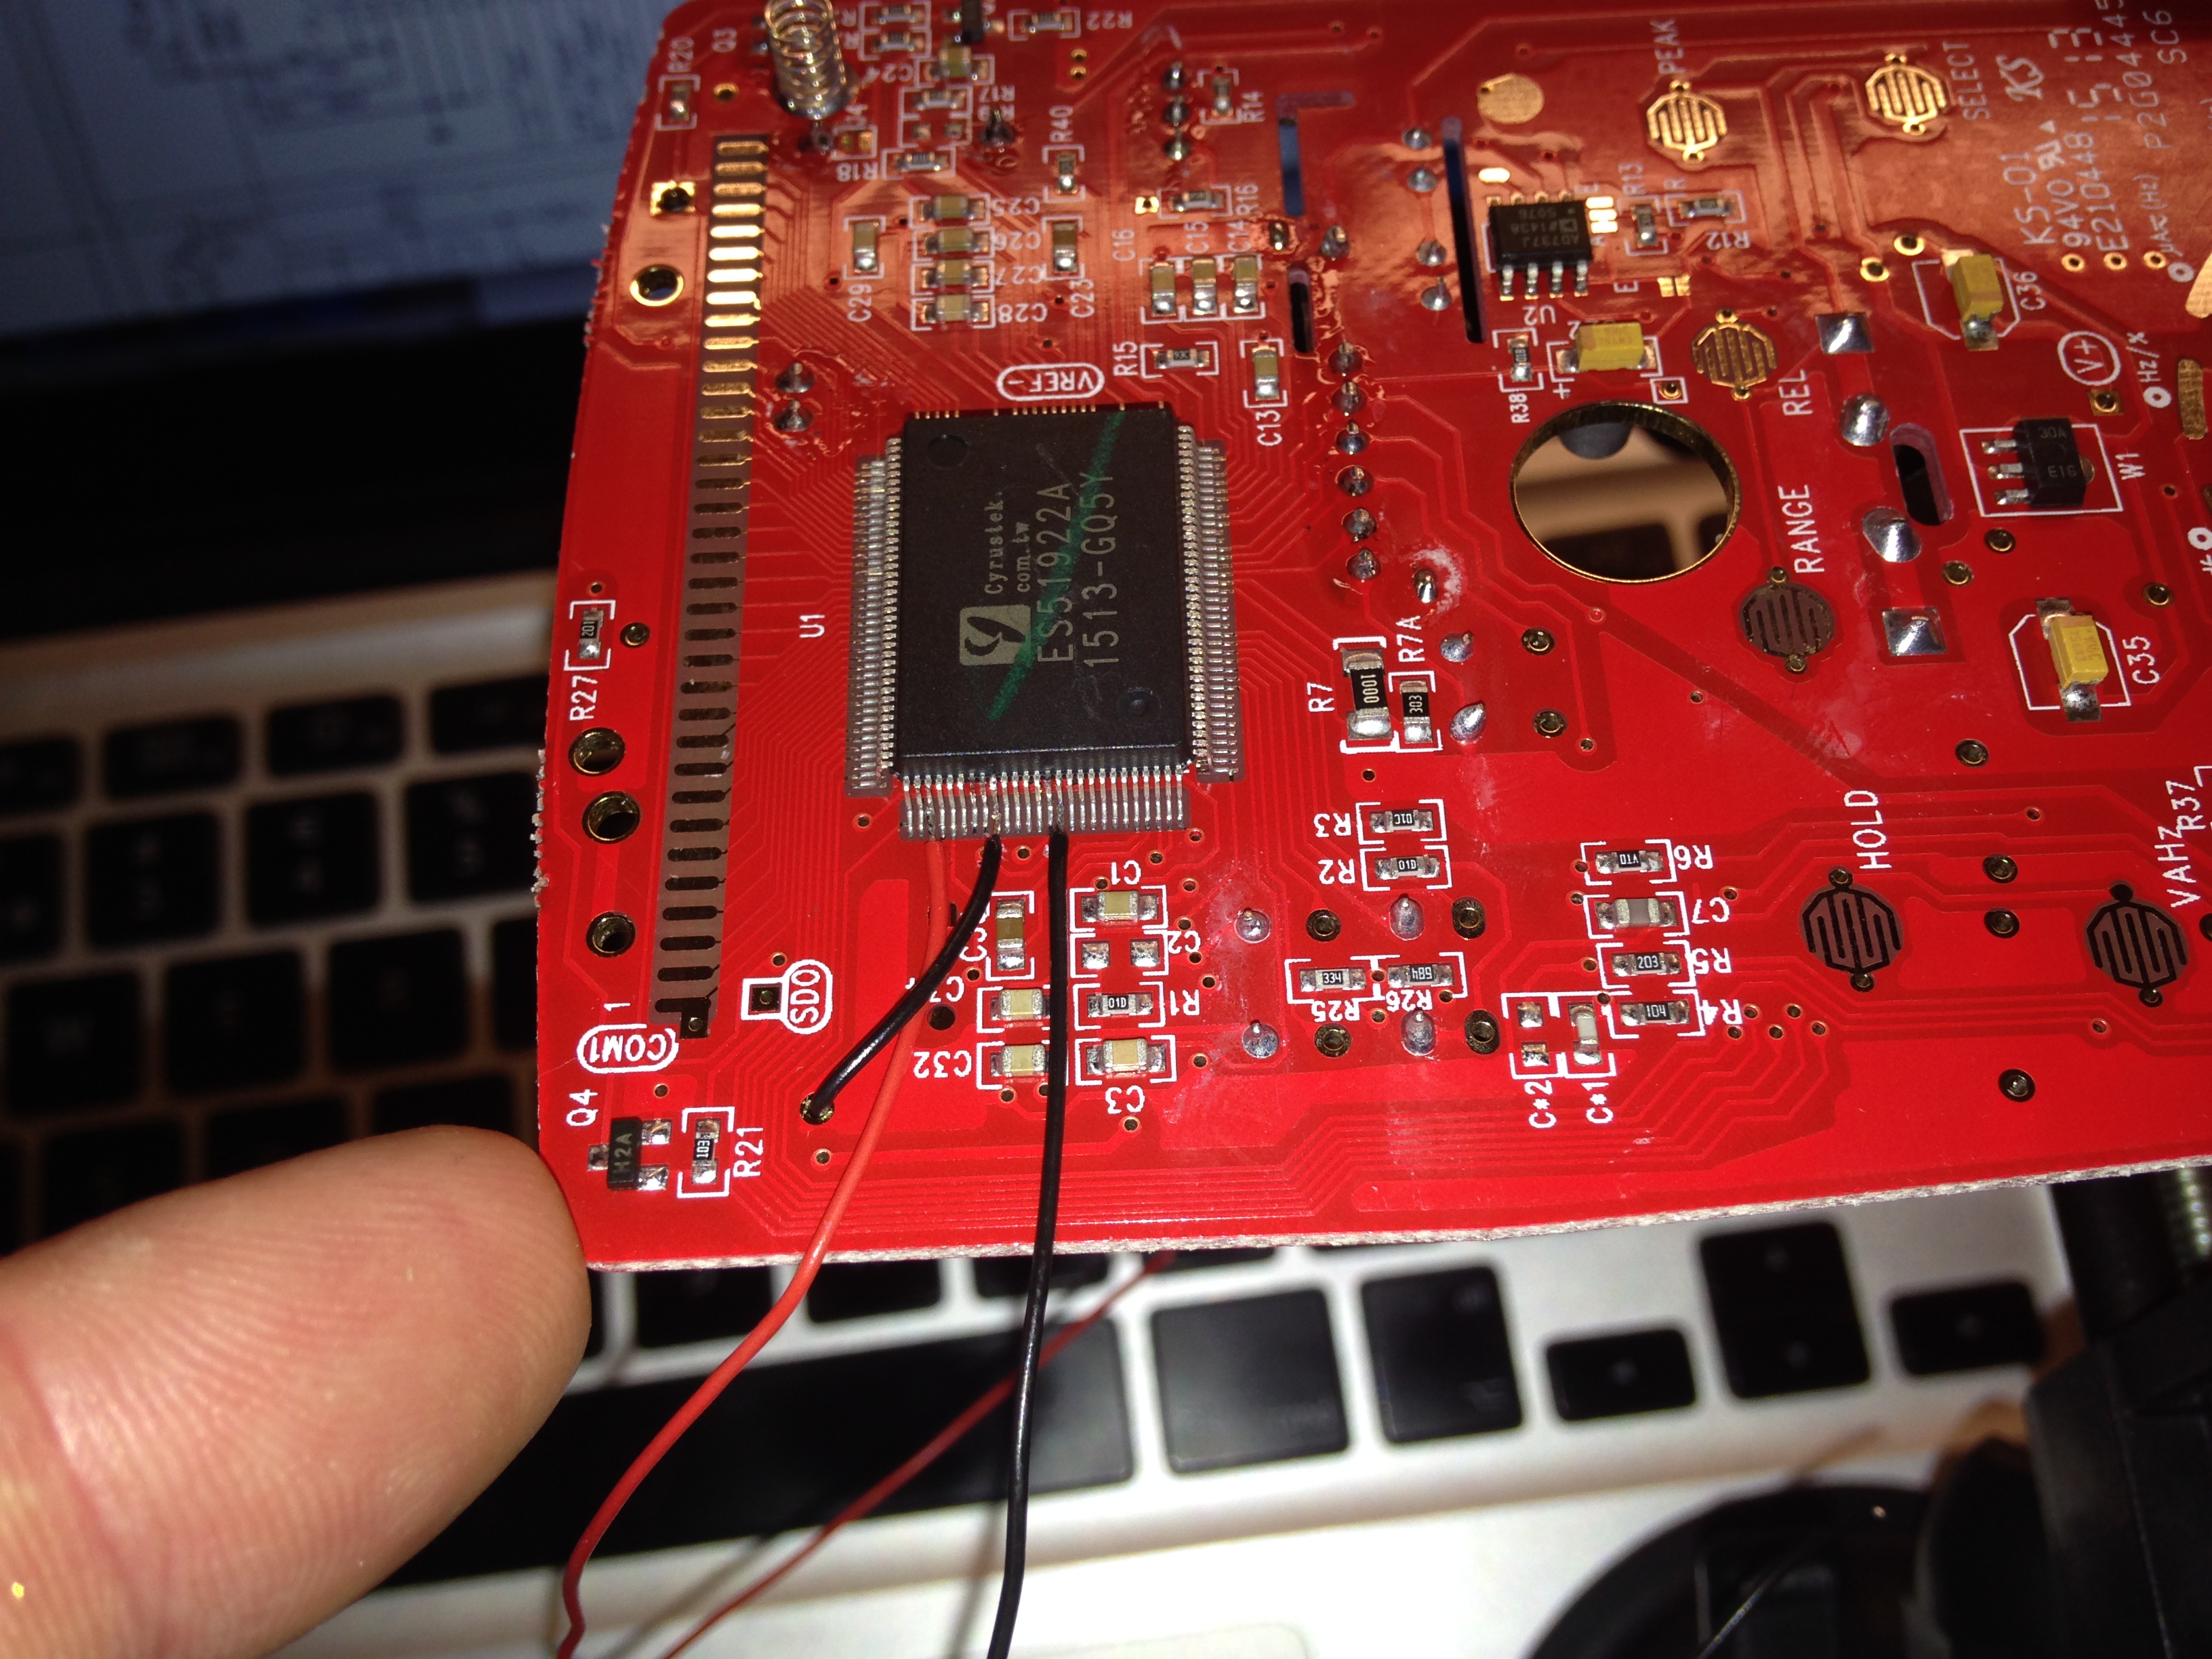
The onboard processing chip ES51922 have more features than is presented to the user. This hack enables some of them.

After the modification my multimeter have the following additional features;
  • Backlit LCD with backlight auto shut-off
  • DMM auto power-off after 15 minutes
  • Possible to Enable/Disable RS232. Default is to have RS232 Disabled
  • MAX-MIN mode for Frequency and Duty cycle measurements
  • AC Low Pass Filter mode
There are some more tweaks to the tweak that can be done;
  • Increase LCD backlight shut-off time from 60 to 180 seconds by connecting BKSEL (113) to VB_ (-3V). It is floating by default
  • Increase the auto power-off time to 30 minutes by connecting APOSEL (112) to VB_. Default is floating.
For this modification there is no need to add any extra buttons. By putting a microprocessor between the function buttons and the DMM processing chip, it is possible to add more modes to some of the buttons. For the Blue and the Yellow button there is only one mode, the short press-release.
I add more modes that is triggered by long-pressing each button or by pressing both buttons simultaneously or by holding down the yellow button while powering on.

This is not my own hack but rather a compilation of already existing hacks with some additions.
I have however not seen anyone done this with a PIC from Microchip. Nor using the PIC to drive the LEDs to protect the MM processing chip.
I have also enabled the LPF in AC-mode which I have not seen been done earlier.

Prerequisites

  • 2 pcs LED. The forward current must not exceed 3V
  • 1 pcs Resistor to limit the current to the LEDs. Its value depends on the LEDs forward voltage drop
  • 2 pcs Resistor as a voltage divider for the BKOUT signal. Around 40k-60k should be OK.
  • 1 pcs PIC16F688 microprocessor from Microchip
  • 1 pcs 0.1uF capacitor for decoupling the PIC16F688
  • Thin connection wire
  • Hot glue and super glue is good to have
  • PicKit2 or PicKit3 to program the PIC16F688 microprocessor

The modification

Download the source code from here,
https://bitbucket.org/foogadgets/ut61e-modification

Build the hex-file.

Flash the PIC16F688 with the generated hex-file.

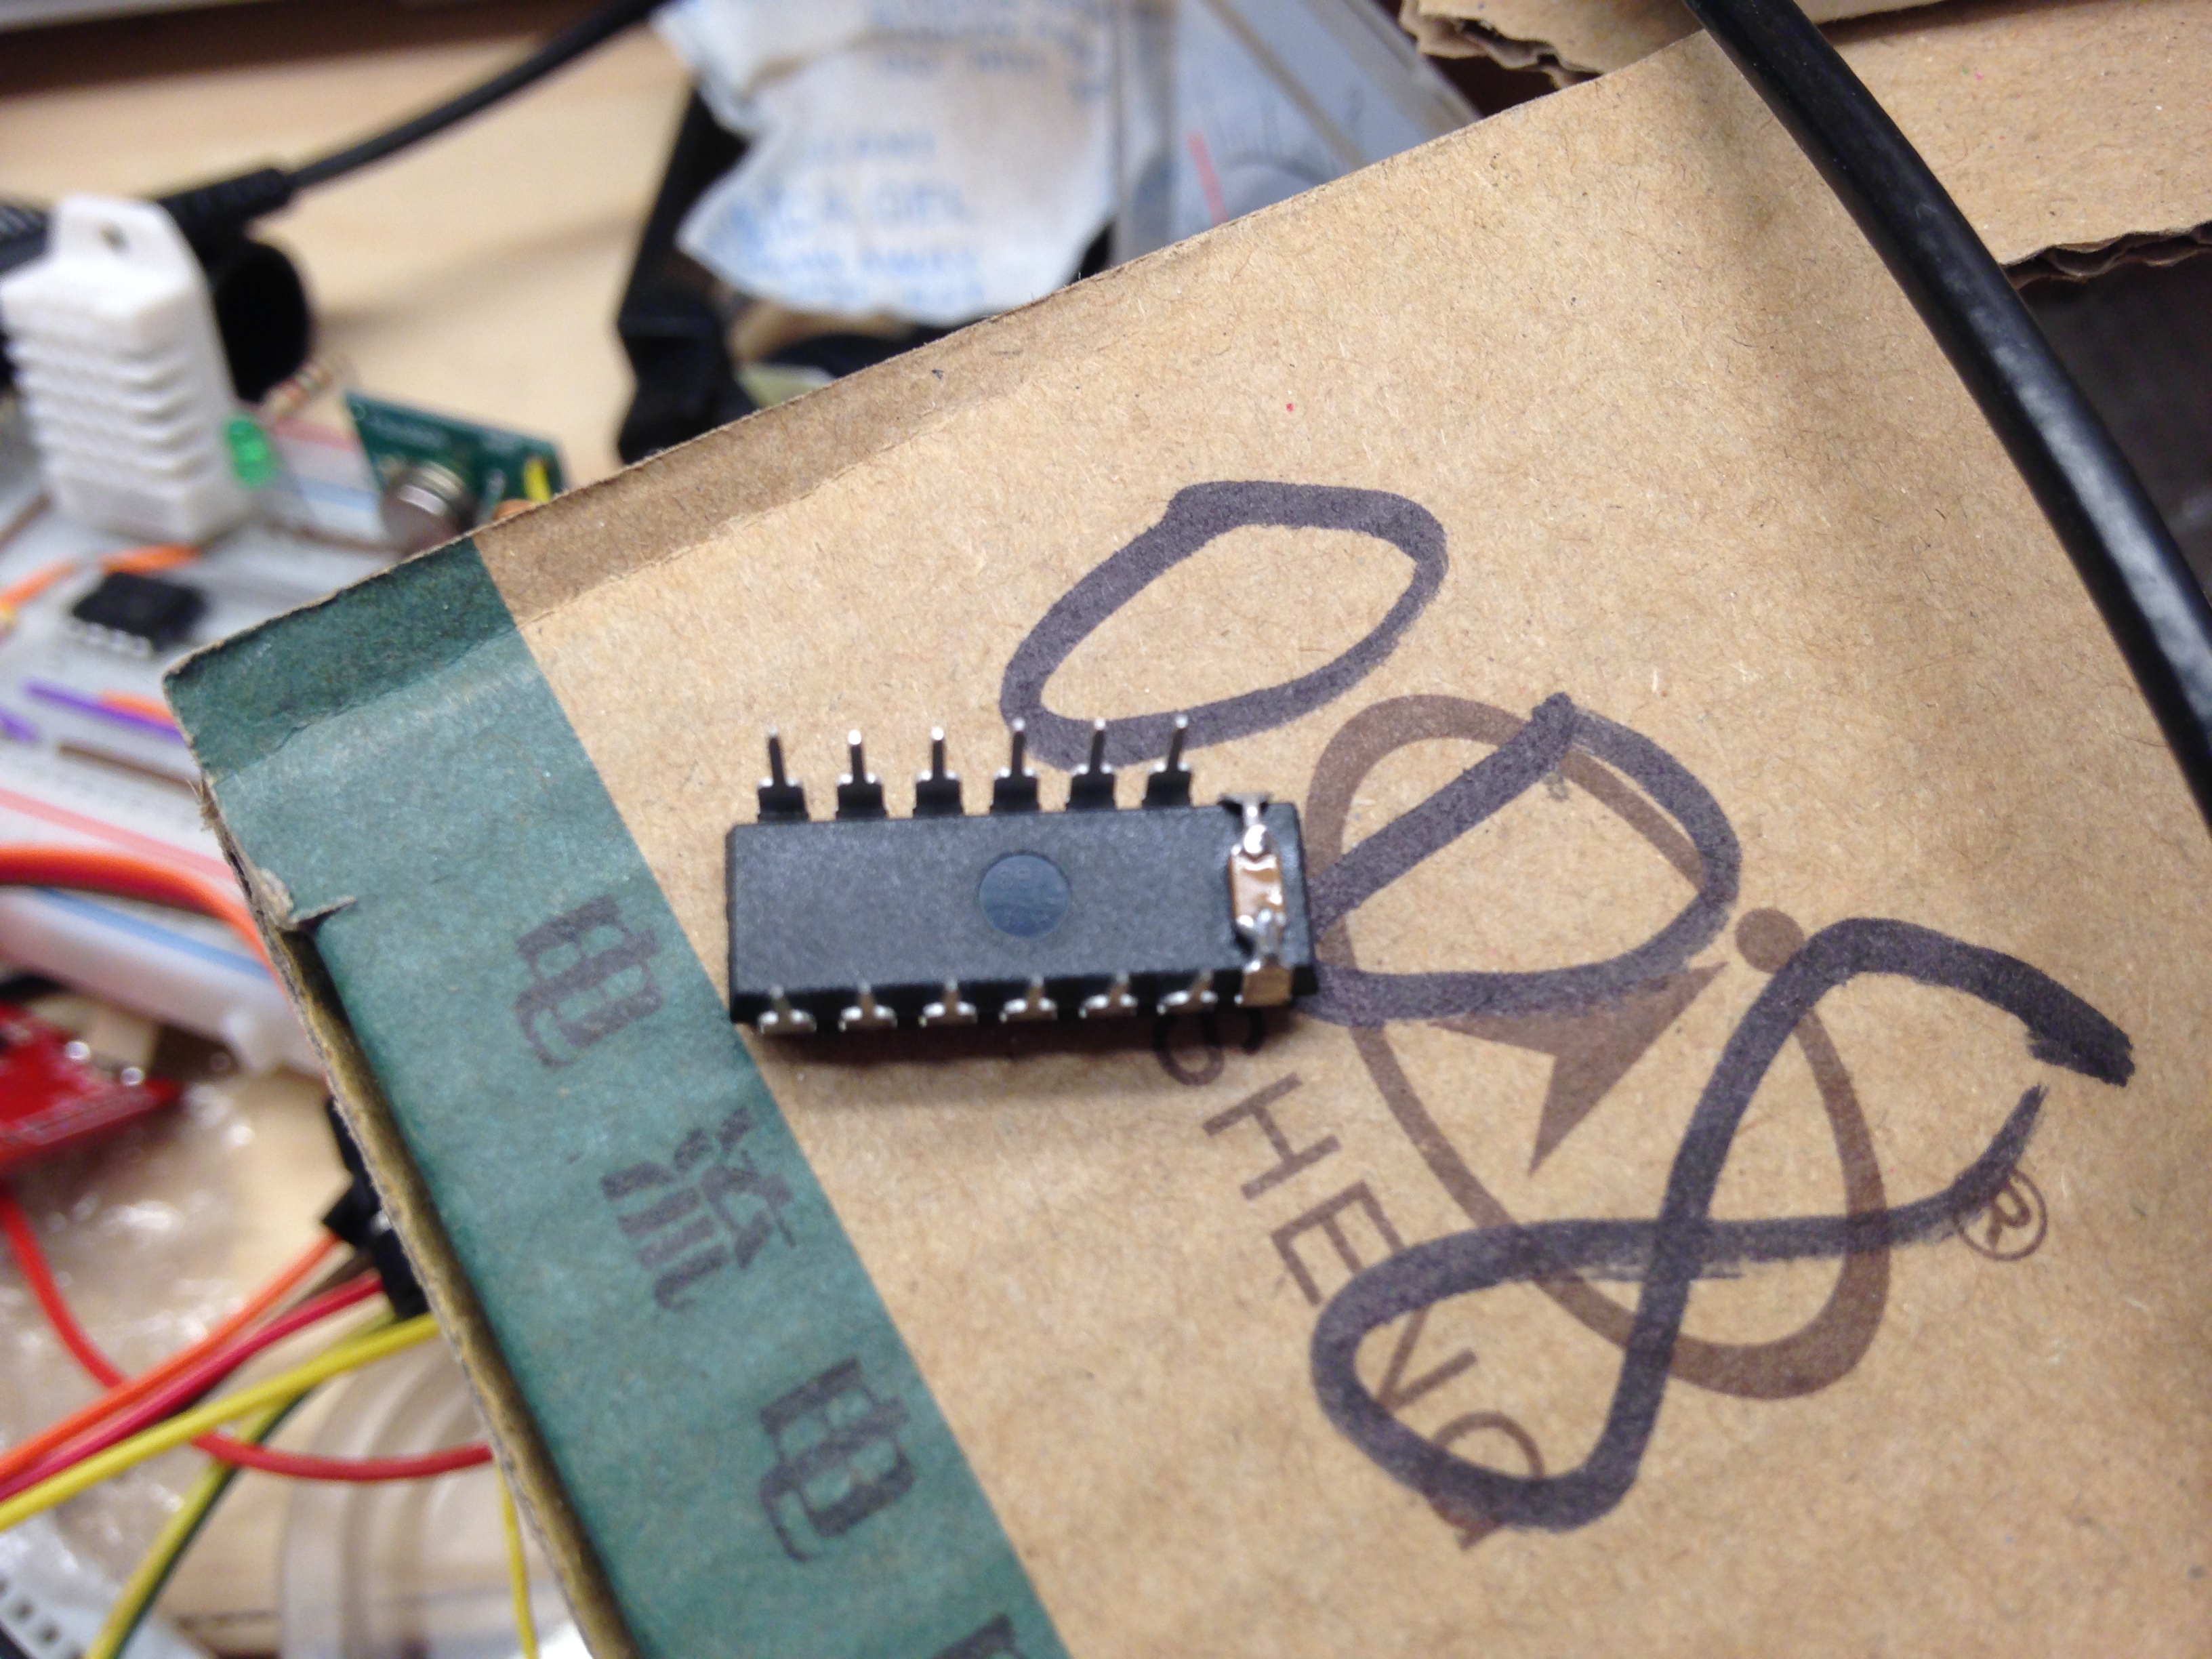
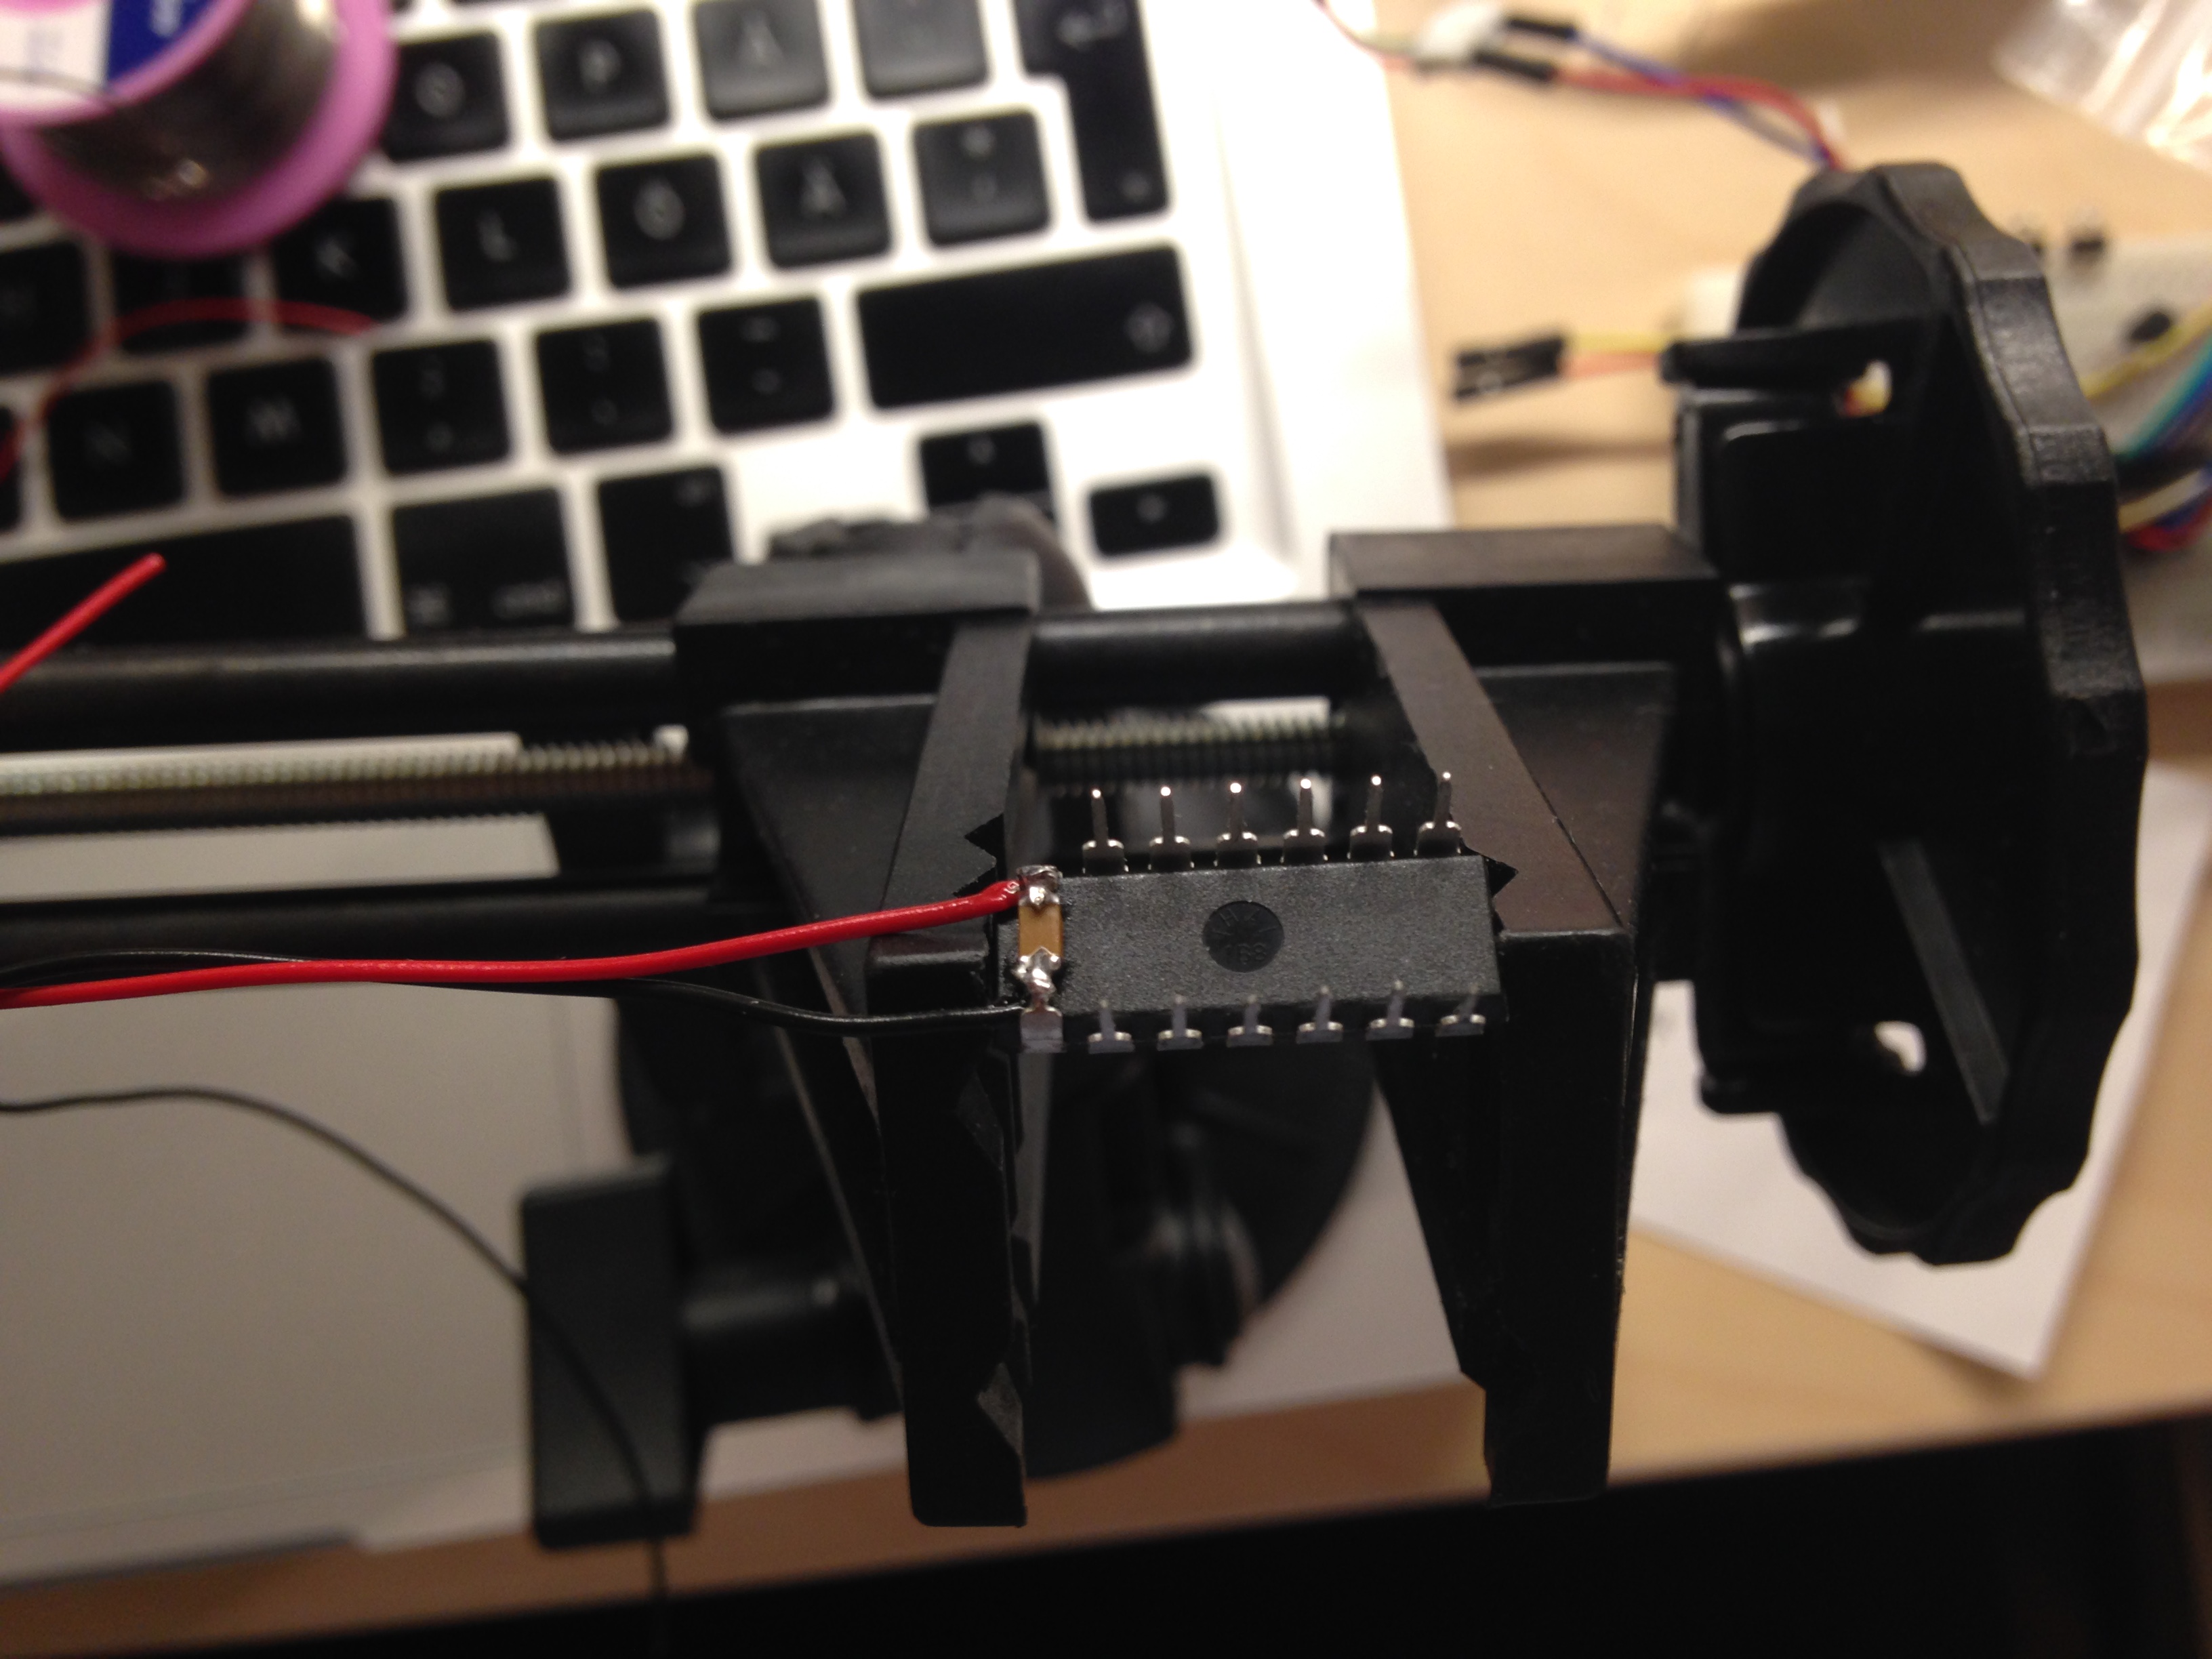
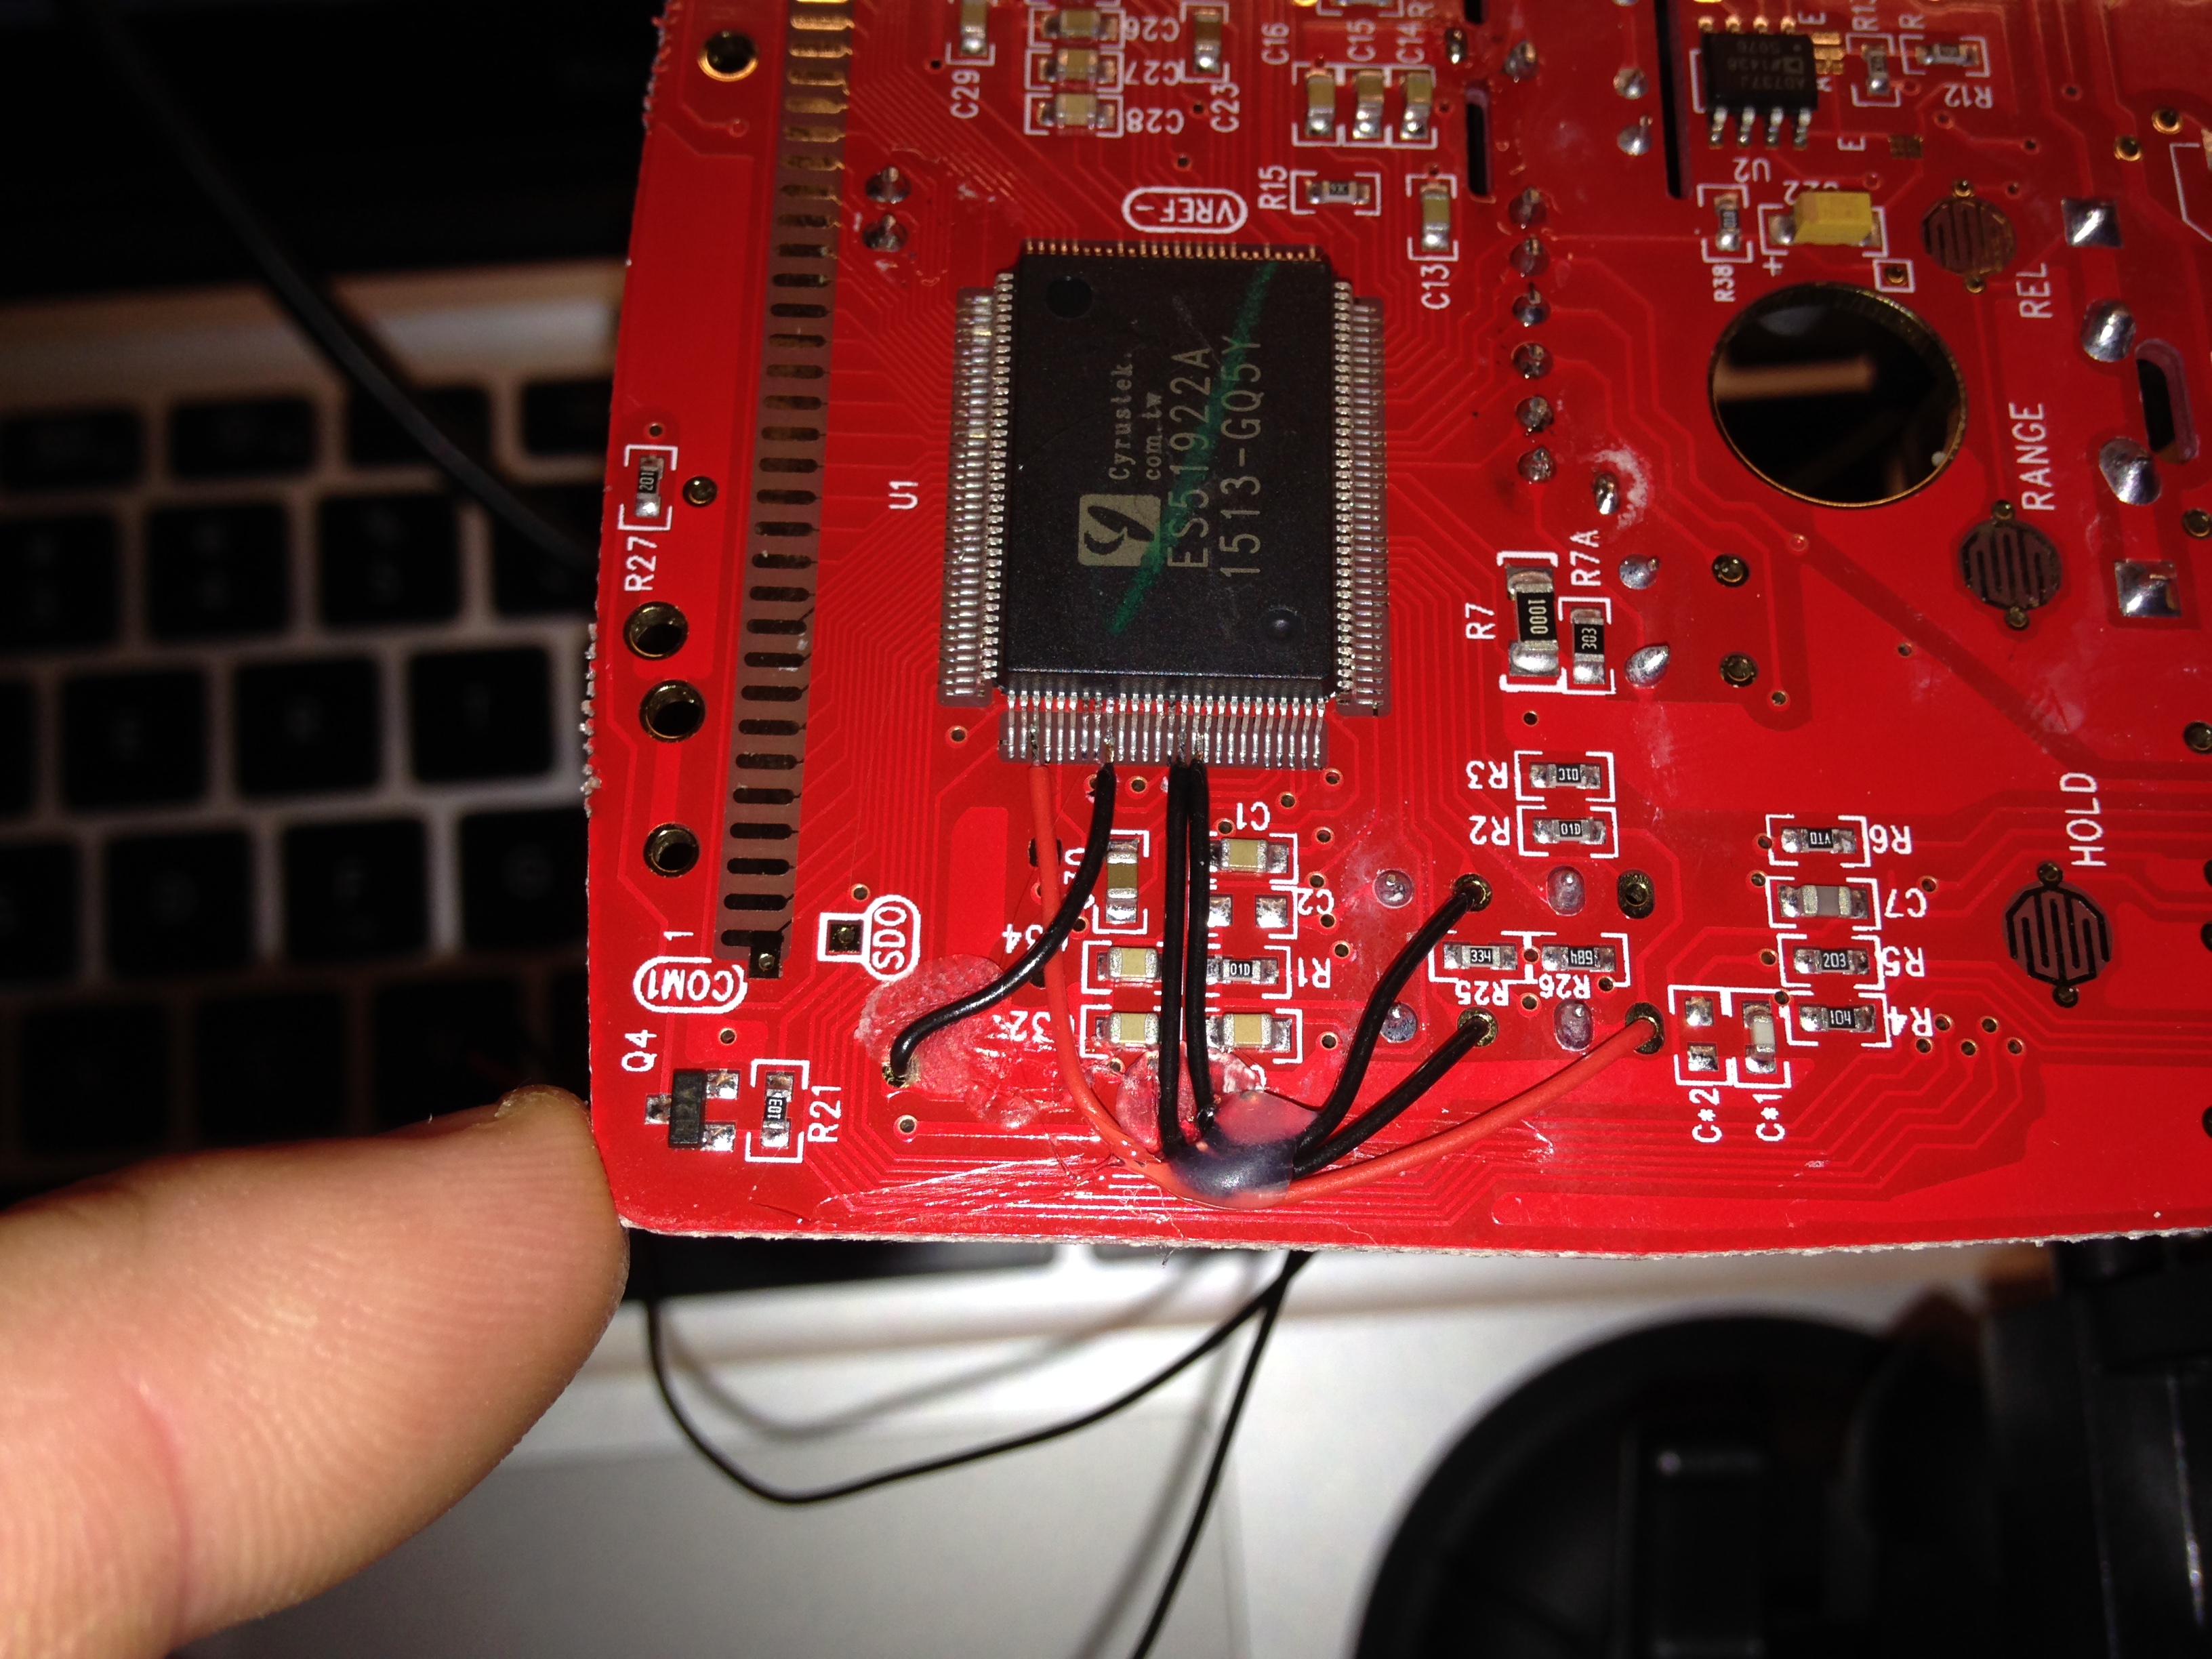
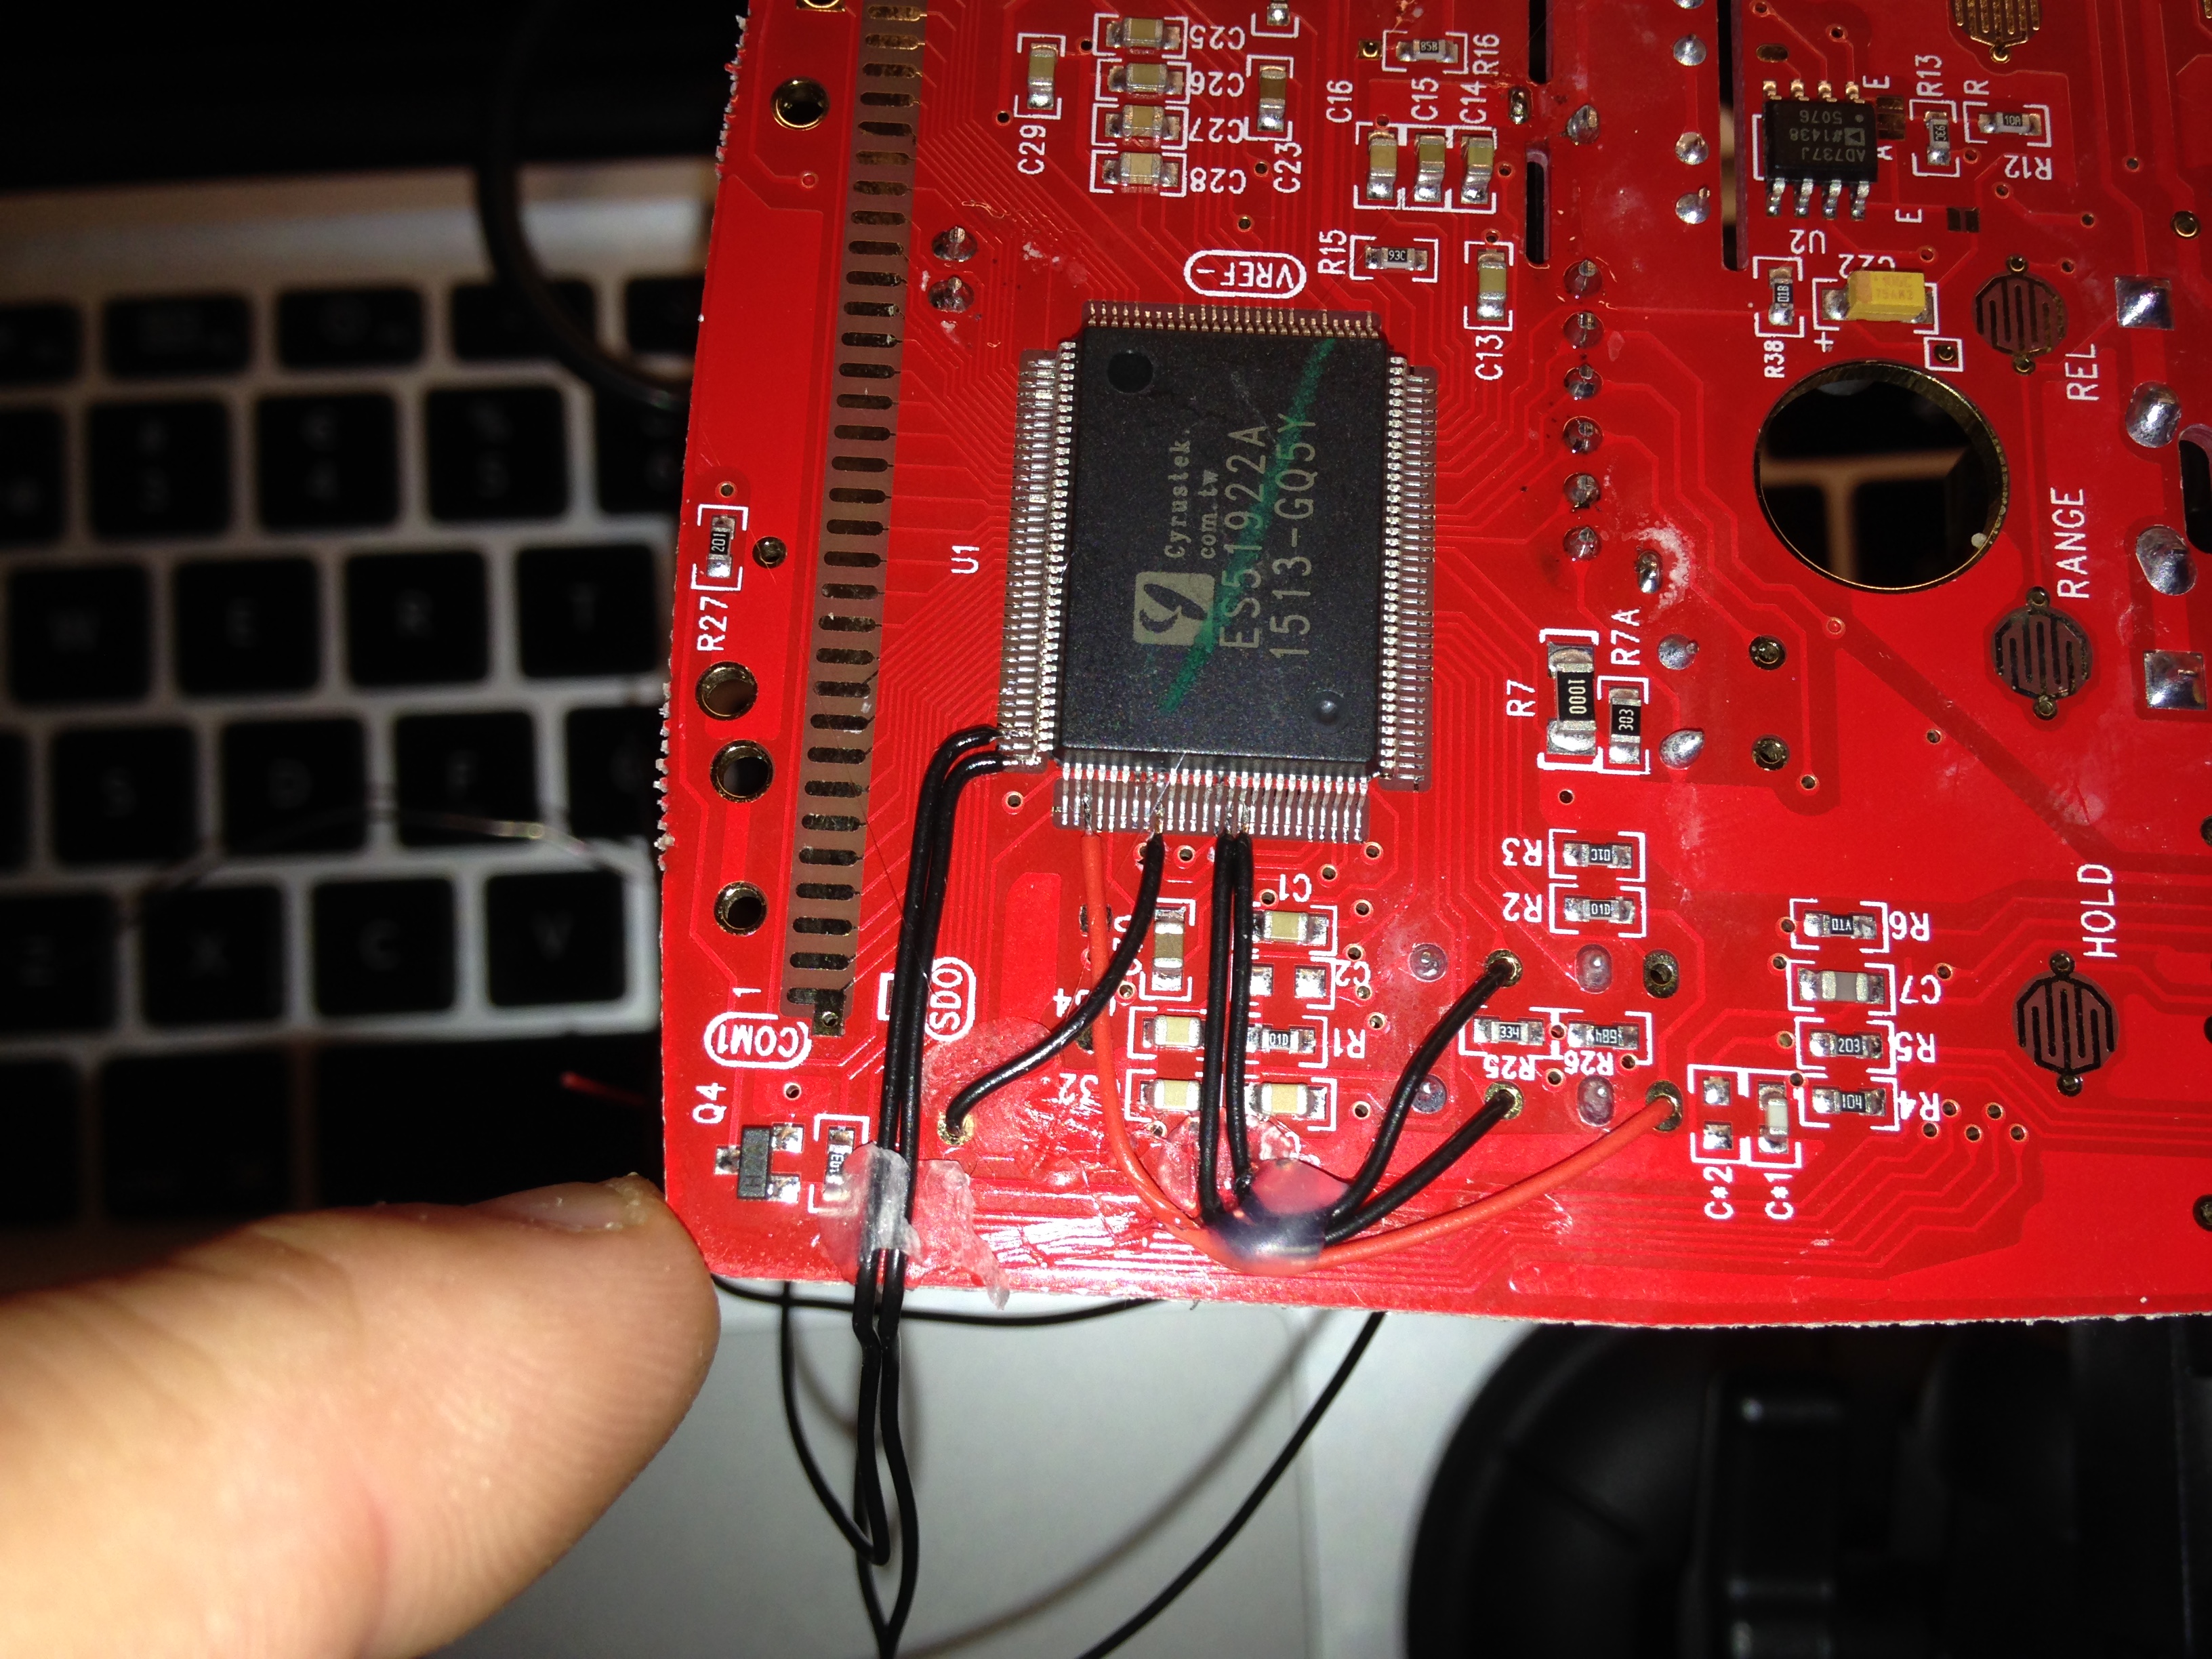
Solder the decoupling capacitor between pin (1) and (14) on the PIC.

Solder thin cables on all pins except pin (4).


Here is a video of the final result,
https://www.youtube.com/watch?v=KLrDdRcWR2Y
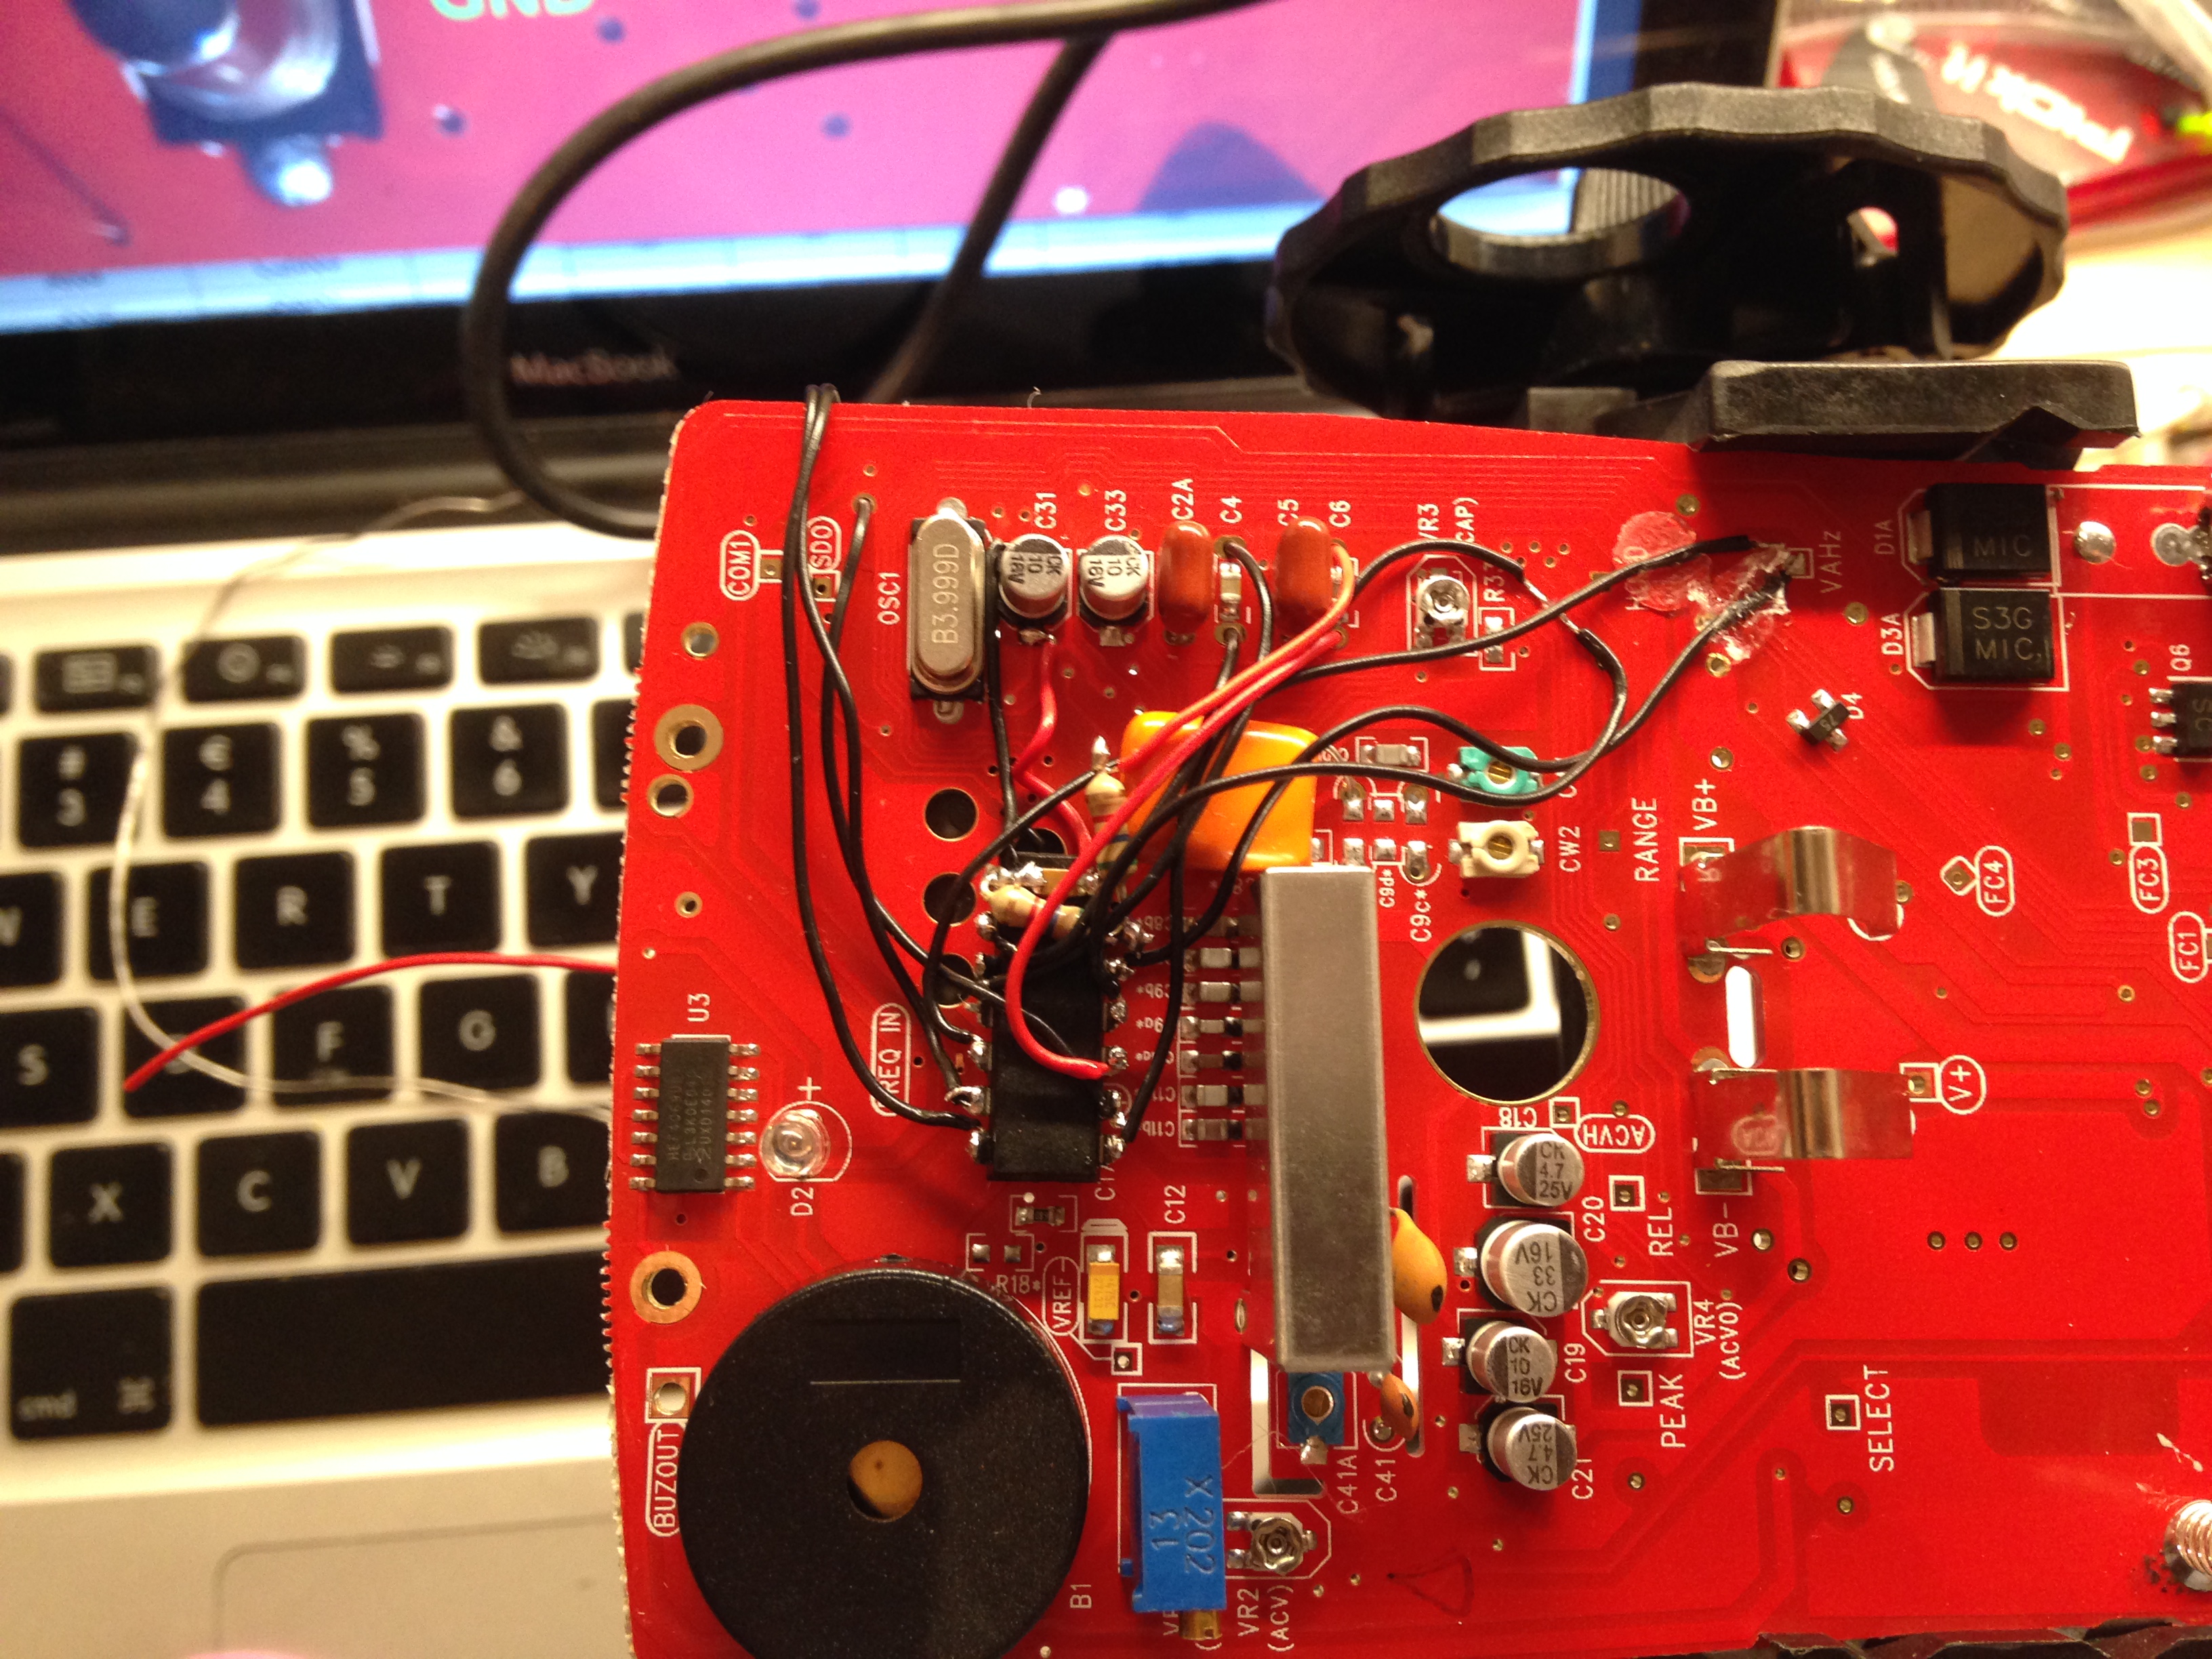
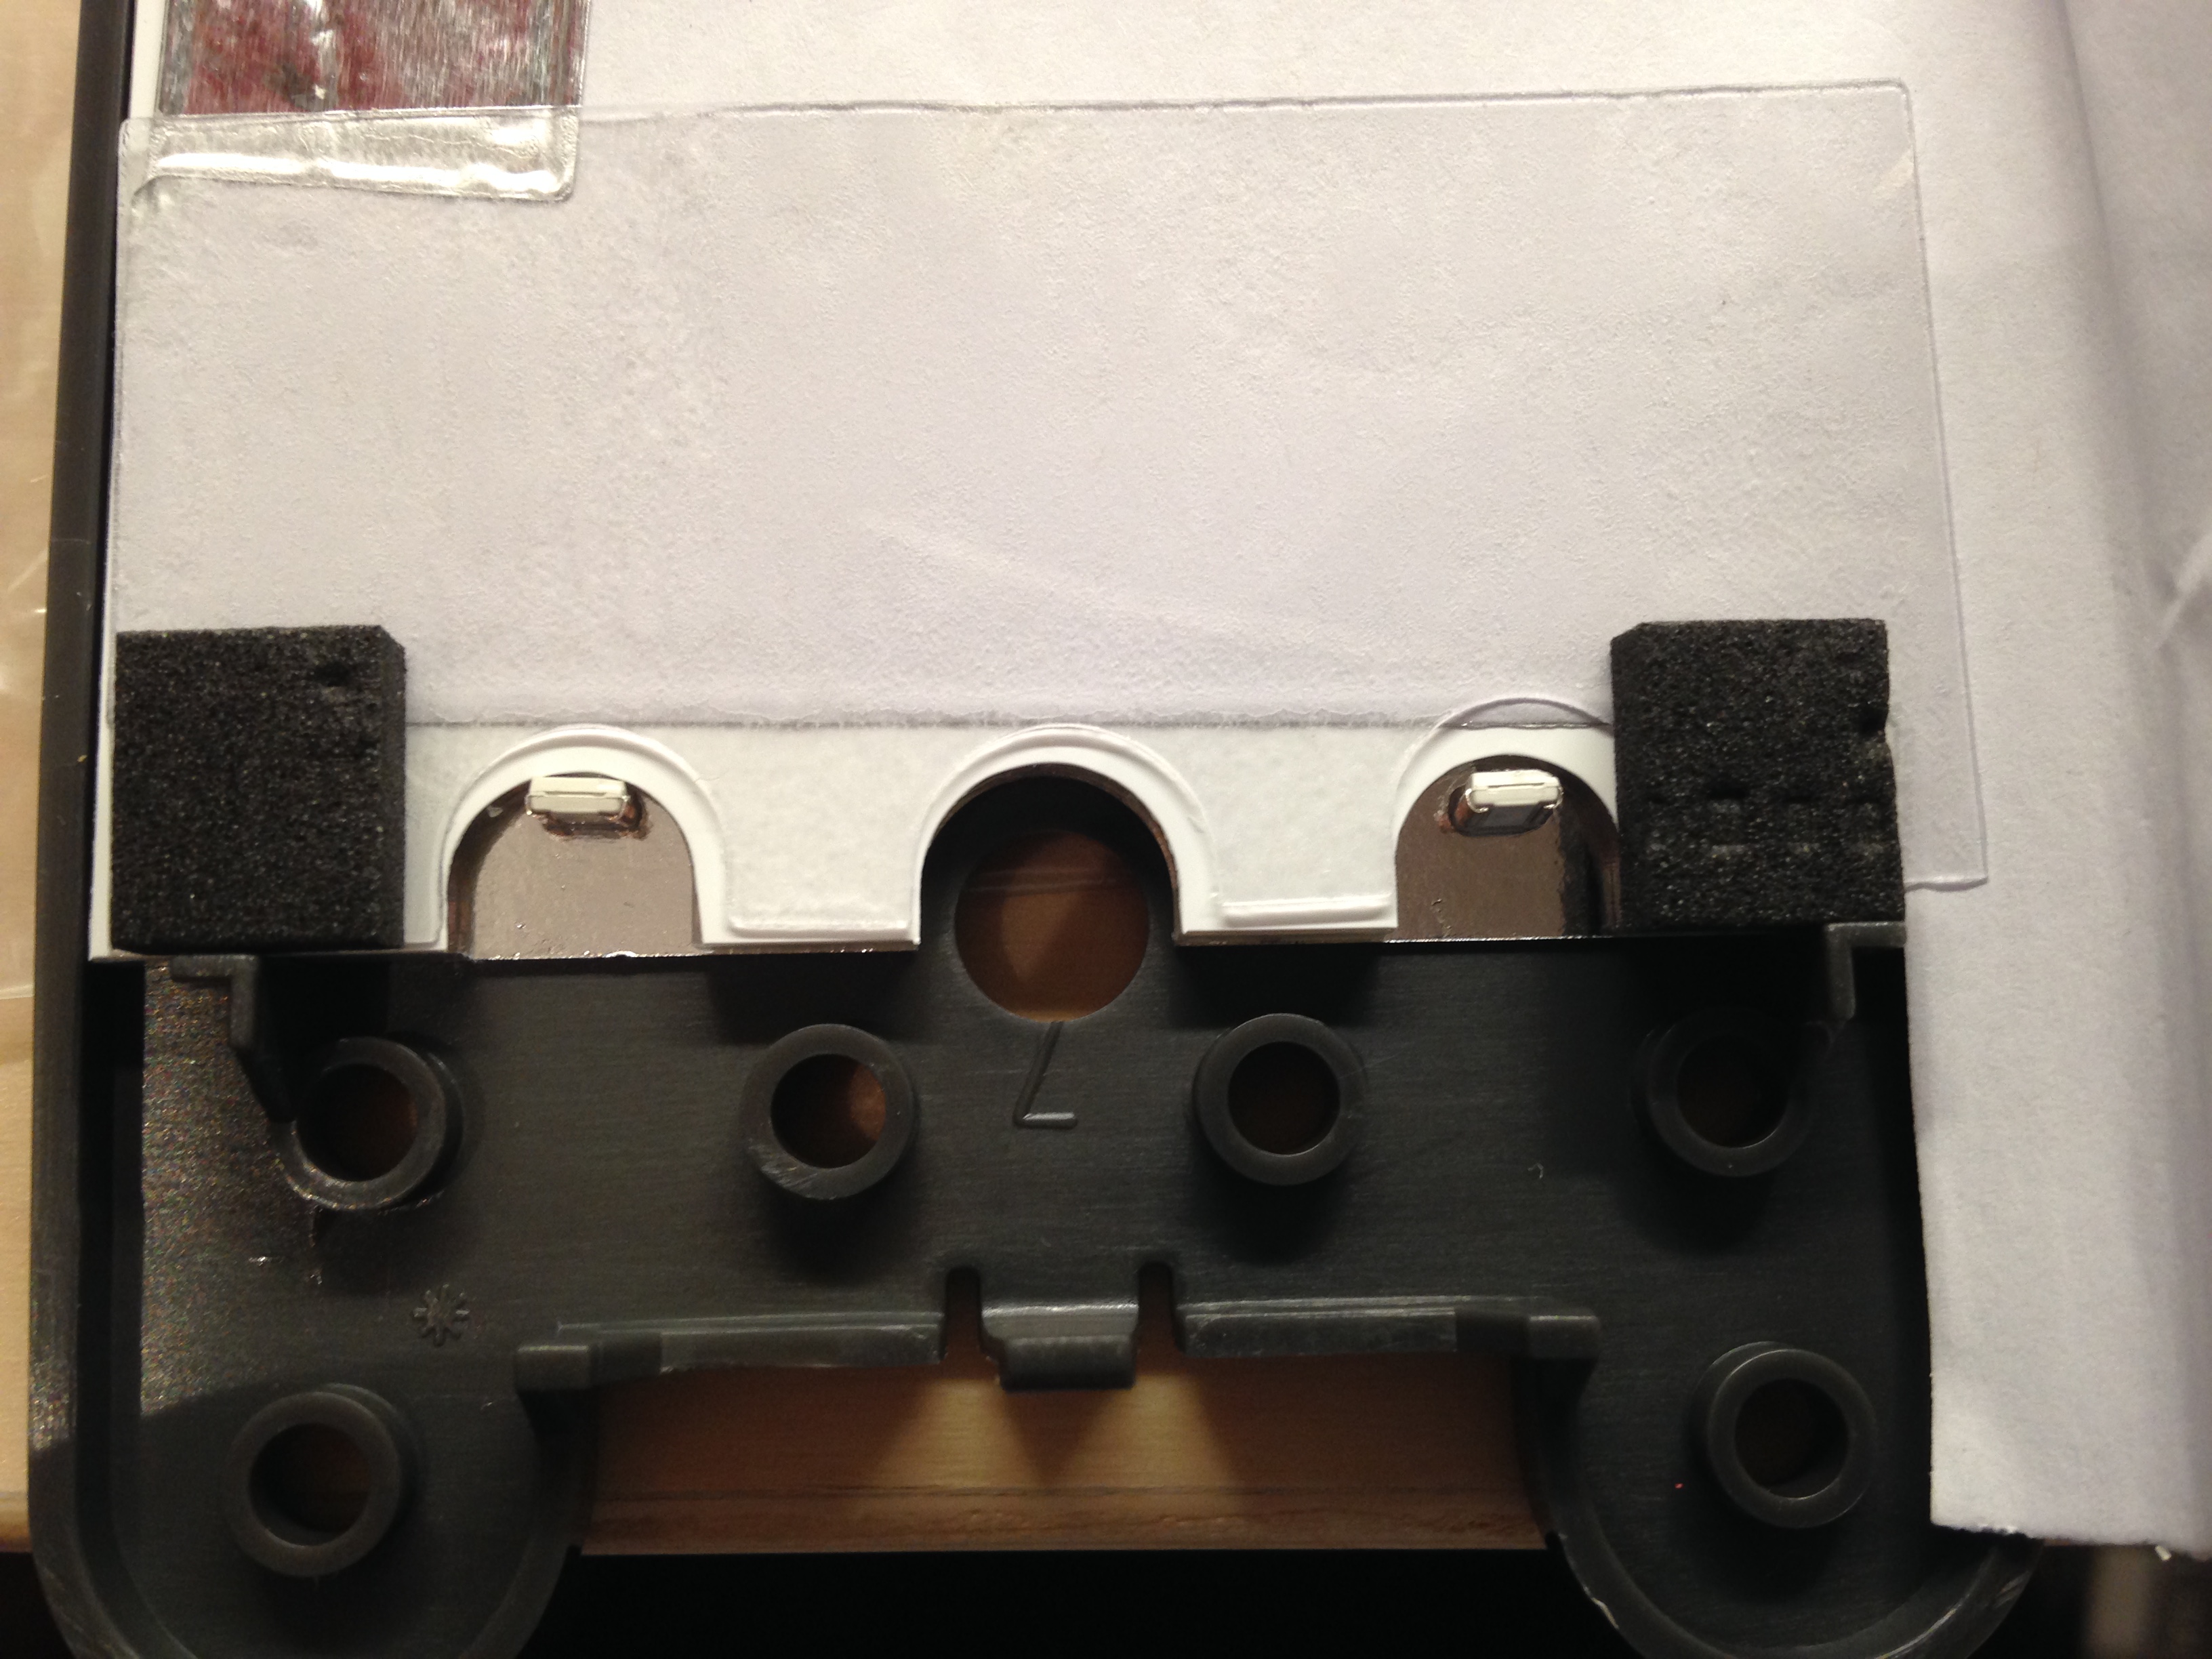
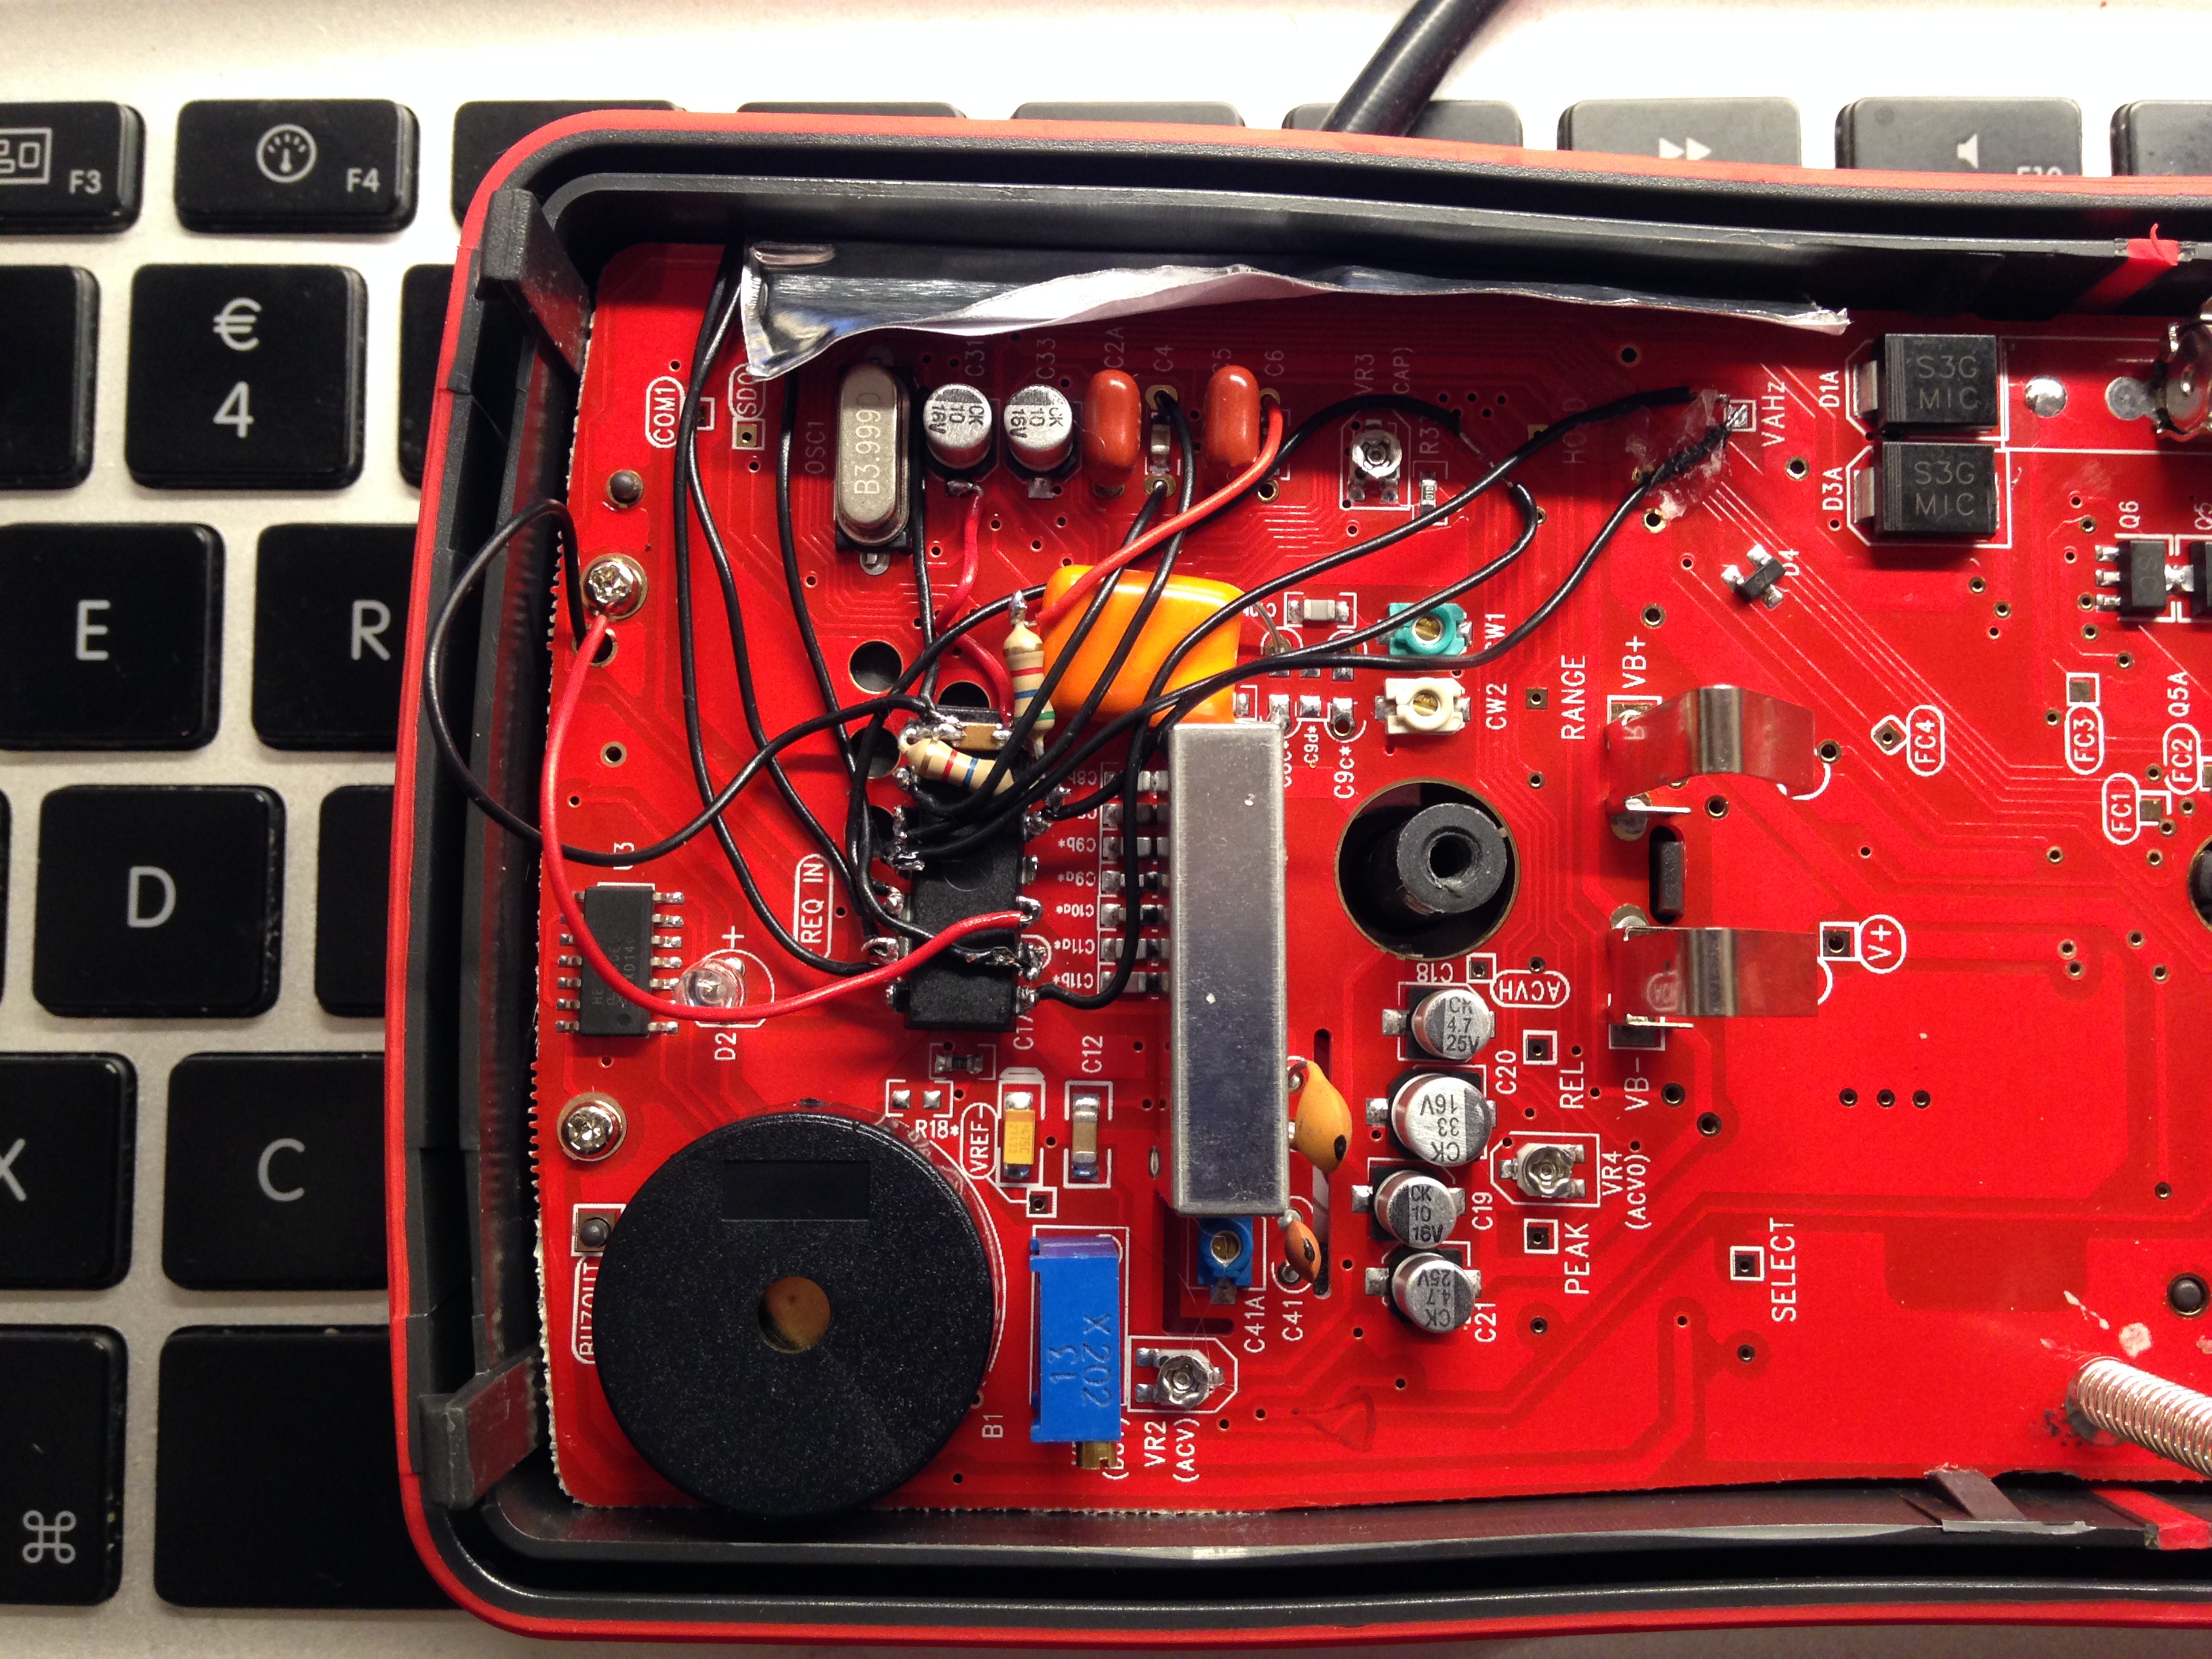
Some pictures;


May 3, 2015

How to make the WPC work in Domoticz


Updated 2016-12-04: Updated to reflect Mattias new lua-script.


Here are some short steps to get the WPC working in Domoticz.

1. Enable the X10 protocol.
In Domoticz: Click Setup and then Hardware. Click Set Mode for the RFXtrx433(E). Check the X10 checkbox if not already checked.
The WPC should after this, be shown as a RFXMeter
(In Domoticz you can fully ignore the other type of protocol the WPC transmits. i.e. Temperature/Humidity sensor with ID 4600)

2. Turn on and find the WPC in Domoticz.
In this step, the WPC does not need to be mounted to your electrical meter or Gas meter or whatever you like to count. It just need to be powered on and within range of the RFXtrx433(E)
Click Setup then Devices. Click the button All Devices and locate the RFXMeter sensor in the list. The WPC transmits a signal immediately at power on, and the once every 60 seconds, so it should be found in the list.

3. Add the RFXMeter to your list of Used sensors.
Click the green circle with white arrow pointing to the right, on the right most side of the page.
If it is a blue circle, it is already added to your list of Used sensors.

4. Name your RFXMeter sensor.
Click on the tab Utility in the top. Locate the RFXMeter, and click Edit and give it a name of your choice. This name will be used further down in this list. Also choose Type Energy in the dropdown list (if that is what you like to measure).

5. Add device that show Power consumption [W].
To be able to not only see Energy [Wh] but also see the Power usage [W], please download this excellent lua-script from one of my customers (credit to Mattias Hedström), https://github.com/mrhedstrom/domoticz/blob/master/scripts/lua/script_device_ActualEnergy.lua
To make it work, you need to follow step 5.1 to 5.3 below.

5.1 Create an Electric virtual sensor.
Click Setup and then Hardware. As Type, choose Dummy... Add a name and click Add.
From the newly created Dummy-device, click Create Virtual Sensors. In the drop-down list choose Electric...
Click Setup and then Devices. Click All devices. You should be able to find your newly created Electric virtual sensor. Make note of its idx for later use.

5.2 Modify the script to fit your local settings.
energyCounter: This should be the same string as the name you gave to the RFXMeter in step 4 above.
dummyEnergyMeter: This should be the same string as the name you gave to the Electric Virtual Sensor created in step 5.1
dummyEnergyMeterid: Use the idx integer of the Electric Virtual Sensor created in step 5.1 above.
Now all the software is in place and you should get reports once every minute from the WPC to Domoticz.

5.3 Place the updated script in the Domoticz subfolder <path-to-domoticz>/scripts/lua/

6. Mount your WPC in a secure and light tight fashion onto your Energy meter and enjoy your graphs in Domoticz.


Credit to Mattias Hedström and Patrik Nordelind for helping out making this list.

April 28, 2015

Tellstick DUO firmware with support for the WPC

Yesterday I sent a pull request to Telldus asking to include my code that adds native support for the Wireless Pulse Counter for the Tellstick DUO.
The update contains two parts, The patched firmware for the Tellstick DUO, and the patched telldus-core that runs on the computer where the Tellstick DUO is connected. The Firmware I provide compiled and it is ready for download, whereas the telldus-core software you need to compile yourself.

Of course, despite this code update, you will still need to do at least some calculations on the receiving side.

Firmware

The firmware adds support for the RFXCOM-protocol that is used by the WPC (Protocol description...kind of).
The effect of using this firmware is that the WPC will no longer show up as a thermometer but instead as a RFXmeter device which is made for presenting number of pulses, and not temperature, humidity, wind speed etc. The earlier calculations below will no longer be needed,

 if ( !signbit(temperature) ) {
  i_counts = humidity*4096 + (int)(10.0*temperature);
 } else {
  i_counts = humidity*4096 - (int)(10.0*temperature) + 2048;
 }

The maximum number of counts is also increased from 413,696 to 2^24 (16,777,216).

NOTE! I have only tested this firmware on my own Tellstick DUO.
The same code have been provided to Telldus so that they can include it in the next release of the firmware.
It is also likely to be released in the Tellstick NET firmware as well since the same code can be used. Link to the Telldus ticket.

The already compiled firmware can be downloaded here,
UPDATED: 2015-04-30: I added another check to make sure it is a RFXCOM package and also fixed so that the checksum is kept through the Tellstick.

Software

The telldus-core software also need to be updated. This is the software that interpret the new raw data that comes from the Tellstick DUO when it receives data from a WPC. The Pull request for this can be downloaded here, telldus-core patch.

Calculations

First get to know your energy meter recalculation factor. Find the [imp/kWh] marking on your energy meter. Then divide 1,000 with the number you find.

  Example 1. If it is marked with 10,000imp/kWh the recalculation factor is 1,000/10,000 = 1/10
  Example 2. If it is marked with 500imp/kWh the recalculation factor is 1,000/500 = 2

Once you have the recalculation factor you can use that to calculate the consumed Energy and present Power usage.

Energy [kWh], multiply your received number with the recalculation factor for your energy meter. You will likely want it in [kWh], thus the dividend 1,000.

          Energy = count • (recalculation factor) / 1,000

Power usage [kW] you need to divide the difference in detected pulses with the elapsed time [s].

          Power = ∆ count • (recalculation factor) • 60 • 60 / ∆ t / 1,000

∆ t is given in seconds [s]. Usually the WPC transmit approximately every 60 second, but if one transmission is lost, the ∆ t will be around 120 seconds etc.
The dividend 1,000 is there to get the result in [kW]


February 6, 2015

New version of the WMS Mk2 Manual

I have updated the manual with more information and more describing pictures.
The manual can be downloaded here. PDF version here.